


WHAT IS A T-PART LACE WIG?
WHAT IS A T-PART LACE WIG?
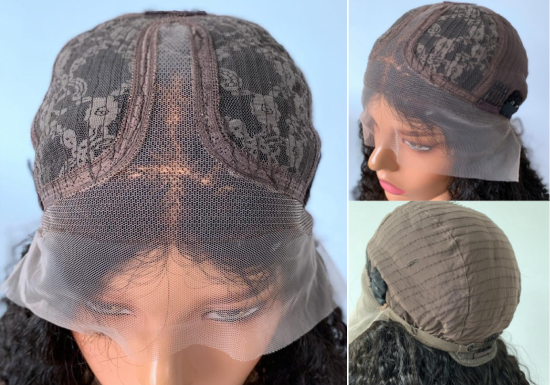
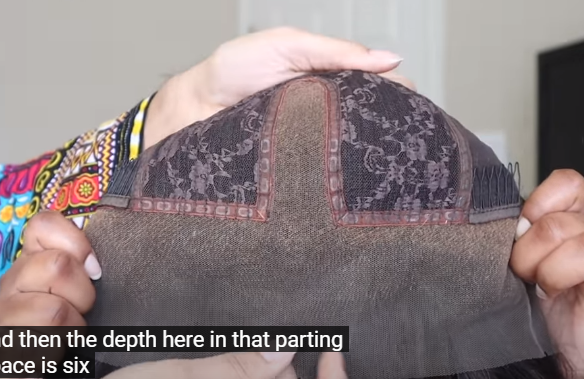
A T-part lace wig has a 13 inches lace from ear to ear and a 6 inches depth lace in the middle/left/right (you can custom the parting position) of the parting space, which make the lace looks like a “T” shape.
A T-part lace wig has a little bit of lace around the perimeter but gives a good amount of lace right where the parting spot space.Two combs on the sides, and one in the nape. If you don’t like the combs, you can cut it off.

In the back of the T-part lace wig has an adjustable strap to help you adjust according to the circumference of your head so that the wig will be more stable, it won’t sliding off when you praising the lords in.
FEATURES OF A T-PART LACE WIG
A typical 13*6 T-part lace wig just has a 13” * 6” “T” shape parting space and other sections are machine-made. This is an attempt to make lace wigs more affordable but still with long deep parting. If you are not spending all your coins on a lace wig, you can choose T-part lace wigs.
Because of the “T” structure of the wig cap, only has lace along the perimeter. and the parting area, it’s a fixed part line, so you are unable to free part your T-part lace wig. But you can customize your parting area on the left, middle or right part of the cap at Qthair
HOW TO FINESSE IT PERFECTLY?
If you are new to T-part lace wig or if you are not familiar with a T-part lace wig, it’ll be harder to make it look as natural as a 13” * 6” lace front wig. A T-part lace wig is a type of the lace wig that has a similar look to a lace frontal, but limited to work like a closure, it has less lace in the front to play with, so here we list the steps to make your T-part wig look more natural.
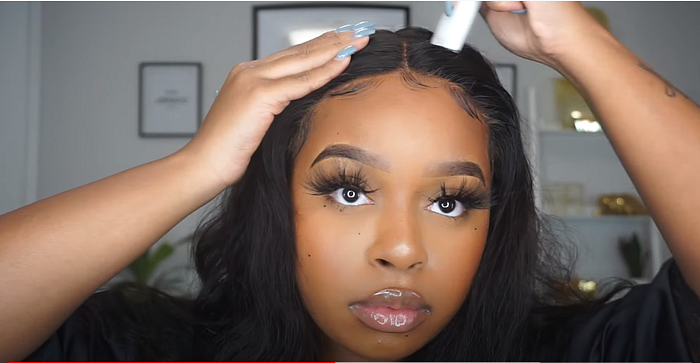
STEP1. APPLY YOUR WIG, MATCH THE WIG PART TO YOUR PART.
Go ahead and fits your head to the tee the ear tabs actually and perfect, placing the elastic band portion around your head first and link of the slide to the back of the wig.

STEP2. CUT OFF THE EXCESS LACE.

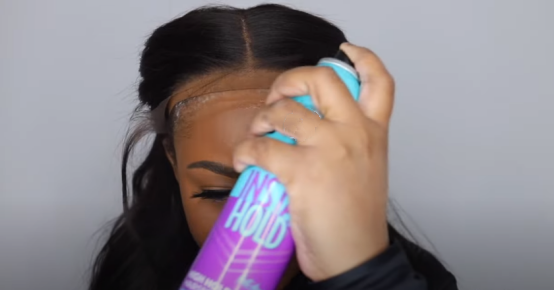
STEP3. APPLY WIG GLUE ALONG THE PERIMETER.
Use some foundation to probably tint it, you can just put a little bit of foundation either underneath the wig or right on the top around the hairline area and it will help out with giving you security.
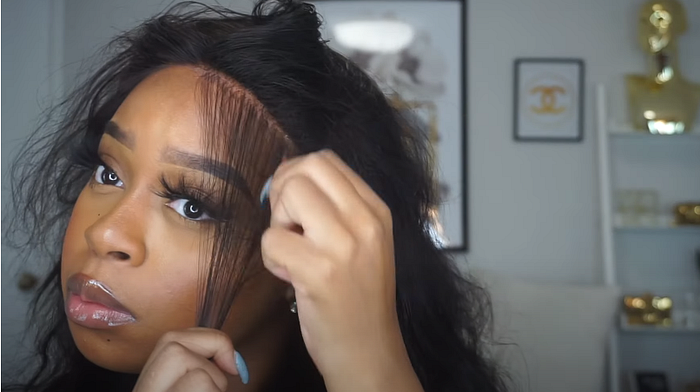
STEP4. PLUCK THE HAIRLINE IF IT HASN’T BEEN WELL PLUCKED.
Using a squeezer to plucking clear demarcation line a clear space between the rest of the hairline and the baby hair to make it more plucked.
If you don’t know how to pluck this unit, just leave a clean space between the hairline and baby hair place.
STEP5. LAY THE BABY HAIR.
This is like a step that everybody may take when it comes to installing the wig, some people may not like baby hair, may not be a part of the baby hair trend but this is going to be needed if you want to help your wig look a lot more natural.

STEP6. APPLY SOME POWDER ALONG THE PERIMETER AND THE PARTING.
Use powder and place powder after the baby hairs between baby hair and the rest of the hair, this just kind of makes everything look like scalp, making everything look as if it is a little bit more plucked as you can see up close it looks a lot better a smoother transition from your face.

STEP7. APPLY SOME GEL AND USE A HOT COMB TO FLAT THE FRONT OF YOUR HAIRLINE AND PARTING.
This may be something very small but it makes the world of a difference, it gives you that lifted growing out of the scalp type look rather than the hair just being flat and lifeless and laying all in your face and then hot comb the top of your hair flattening off your wigs that look a lot more flat, a lot more seamless and a lot more natural.

These steps are crucial when using a T-part lace wig because the customization is so limited with this style of unit and personality is a big part of slaying your wig.
The rest of the install is up to you, you can do any style you like.